Hello and Welcome to my Blog ~ I love art of all kinds. Two of my favorites are polymer clay and paper art. I have shops on Etsy that feature both of my passions. I also love writing my blog and finding artists that have a passion for their craft and feature them. I hope your day is filled with sunshine, laughter and loads of creativity.


Saturday, June 23, 2012

Transferring Images onto Candles


I read about transferring images onto candles and thought I would try it out.  I bought dollar store candles because I thought for sure I would make a mess out of them, but in actuality I am very pleased with the results.

Here is what you will need to create your own designs:

Rubber stamps
Ink pads
Wax paper
Tissue paper
Embellishments of your choice
Heat gun
Candle  ( The candles I used are 3" tall x 2.5" wide)
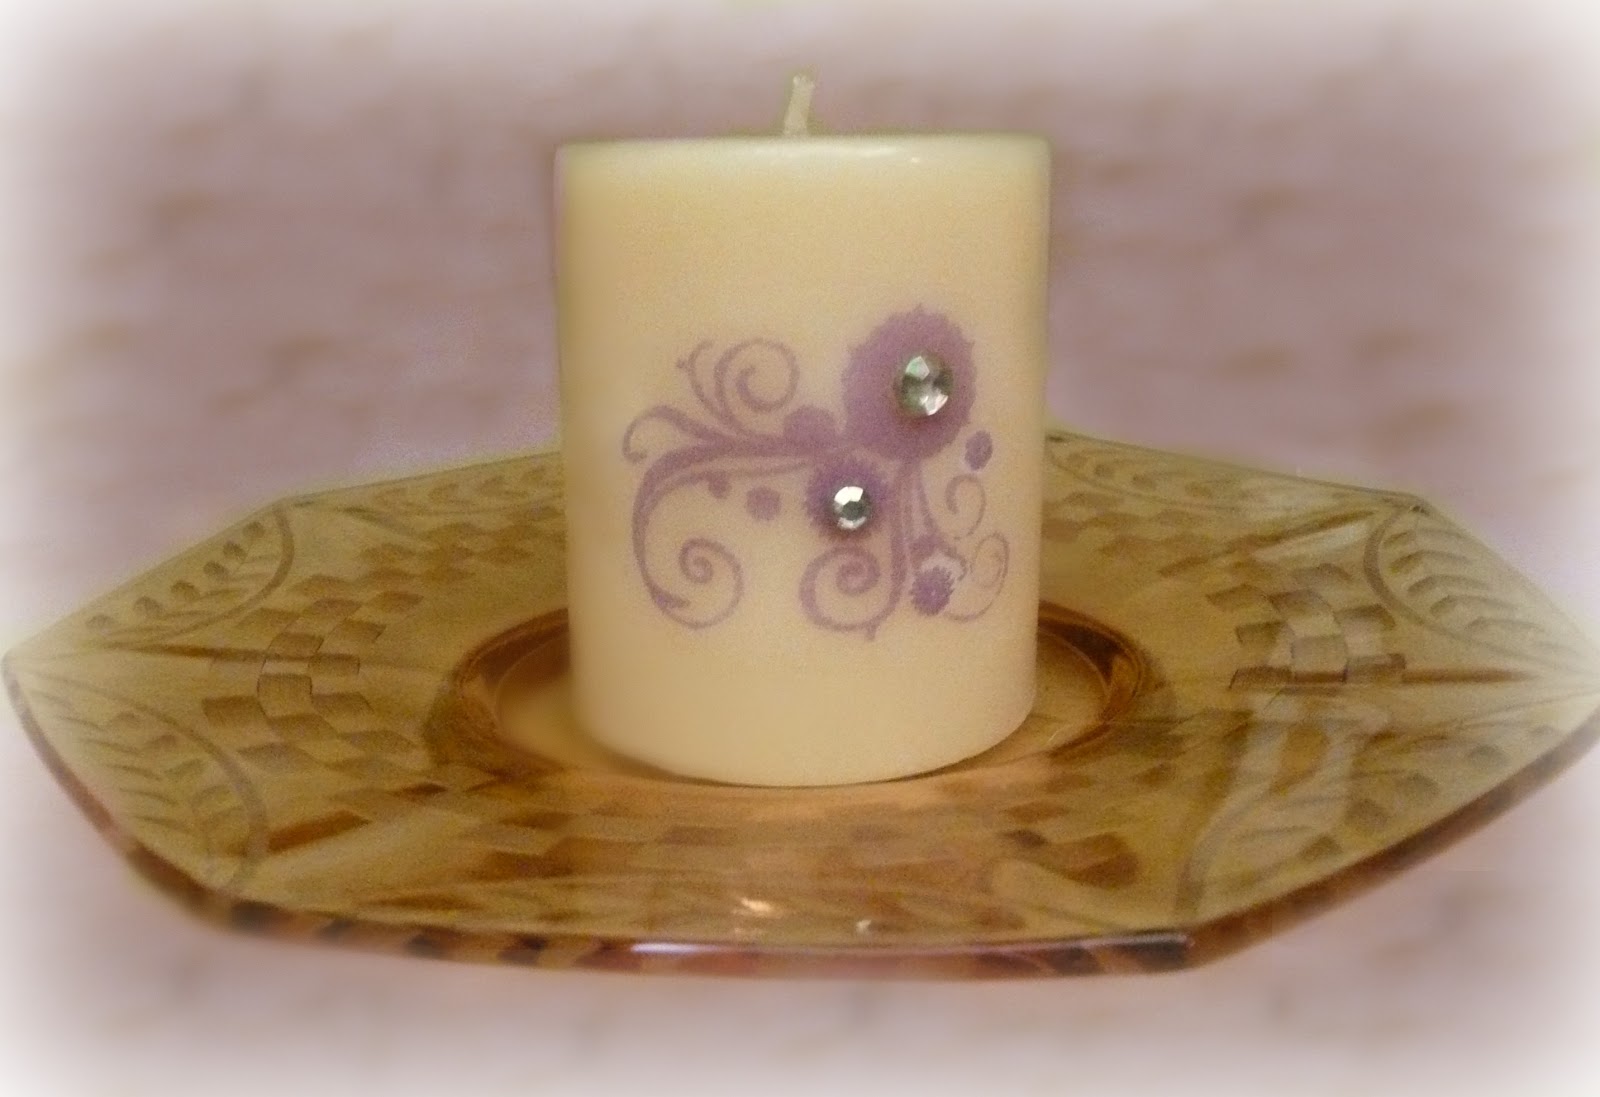


Stamp your design on the shiny side of the tissue paper. Cut the excess close to the design rounding out all the corners.  Because the candles I bought were white and cream, I used white tissue paper. 

Place the design on the candle with the tissue paper right side up.  I used a dab of glue to position the paper so that it wouldn't slip.

Cut off a large piece of waxed paper so that you have plenty to hold onto in the back of the candle,  you don't want to burn your hands.  Make sure that you do not have any wrinkles on the tissue or the waxed paper.

Use your heat gun and go quickly over the design. You will see the tissue paper melt into the candle. You do not want to overheat your image.  

Once the tissue paper has melted, you can remove the waxed paper and you will have a beautifully decorated candle.

You can then add ribbons and bling to embellish your candles.

Monday, June 18, 2012

Something Old and Something New

This is a Garden Angel which has been out of my Etsy shop for about four months. She needed a new background and I used Picmonkey (an editing program) to do just that.  I love the magical look of the background. I have now re-introduced her back into my shop.


This new creation was a fun one to do.  I had this little book that I bought at Michaels and wanted to incorporate it with a figurine.  I found that paper products can be put in the oven with the clay because of the low heat which makes it easy for placement. No fussing with glue afterwards.


Here is another creation that I re-introduced into my Etsy Shop.  A customer ordered two of these (without the jump rings) to put in her terrariums.  She wanted them to be peeking out among the leaves.


Cherub Pendant


Another new item I created is this sewing bug who is being very helpful by holding a spool of thread.  I used 20 gauge wire for the antennas and glass beads for the eyes.  She is only an inch and a half tall.

Friday, June 15, 2012

Felt Hat Tutorial


I tried something new a while back and was very pleased with the outcome.  I saw a tutorial on making hats for dolls out of felt and thought maybe I could do it.

What you need:
1 - One piece of 8x10 felt
2 - White glue
3 - A form to mold the hat
4 - Lots of patience

I had the doll, the glue and the felt so they weren't the problem,  The form was the problem, but I quickly remedied that by looking in my Grandson's toy box.  There it was, the perfect form for a dolls head sitting there among his most loved items.  It was a small bowling ball (you know the kind) that come with the plastic pins. It fit perfectly in one of my drinking glasses.  I covered it with plastic wrap and was ready to go.

Now you mix the glue  and water, half and half in a small bowl.  Mix it well so that it is milky white.

Cut the felt however you like.  I placed it on the dolls head and fooled around with it until I liked what I saw.

Next, dip the piece of felt in the glue mixture, give it a good squish a few times, making sure that all of it has been soaked well, then squeeze thoroughly.  Now for the patience part.  Keep molding it and smoothing it out on the form until you like what you see.  It will be very pliable at this point, so make sure you smooth out any wrinkles.

It does take a while to dry, so don't fuss with it until it is good and dry.  Once it is dried, you will find that the hat is stiff.  Remove it from the mold and embellish it with whatever suits your fancy, you will be very pleased with the outcome.

This is the first hat that I created, which I am pleased to say sold quickly in my Etsy shop. When I took the picture, the dolls dress was blue which just wouldn't do for the pictures, so I changed the color in my editing program to match the hat.  After slitting the hat in several places, I wove a purple and pink ribbon through it, then added pink petals in the front.


~*~*~*~

This was a fun hat to make and much simpler that the first one.  I had this great flower embellishment to give it a bit of pizazz.


~*~*~*~

Here is another simple hat, which is more about embellishment.  Molding this one was easy.  I wanted an 1800s look so I added a big black bow and wide ribbon to finish it off.  

Old Fashioned Bonnet 


Old Fashioned Bonnet


I hope you enjoyed this tutorial on my hats.  If you do make some, send me pictures, I would love to post them on my blog.