I am proud to feature two wonderful polymer clay
Jewelry Artisans from Australia
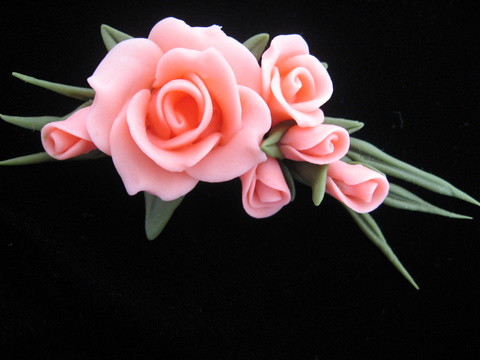
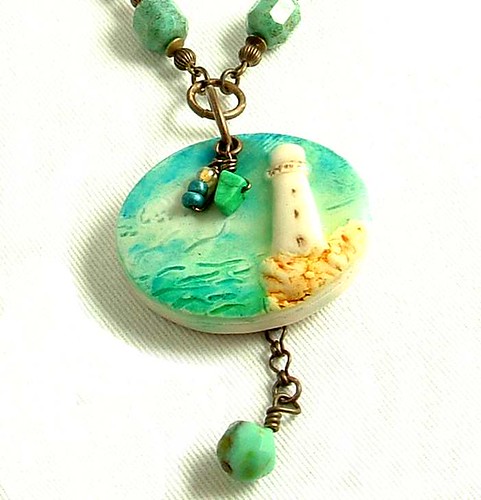
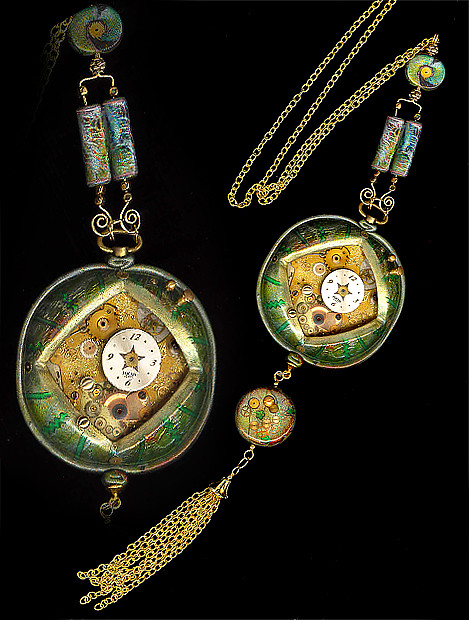
Maria Psaltis
Jewelry Artisans from Australia
Maria Psaltis
Maria Psaltis is from Sidney and is a mother,wife and polymer clay artist. She also works with young people at risk.

You can visit her website at:
http://www.oneandonlyuniquedesigns.com/
Maria was featured on Polymer Clay Daily in July of 2010.

In Maria's own words:
Maria has a shop on Etsy and you can view her beautiful jewelry at:
http://www.etsy.com/shop/mariapsaltis
http://www.etsy.com/shop/mariapsaltis
~*~*~*~*~*~
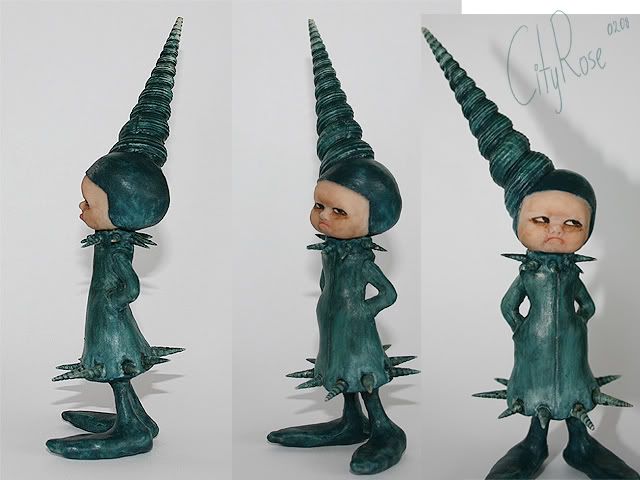
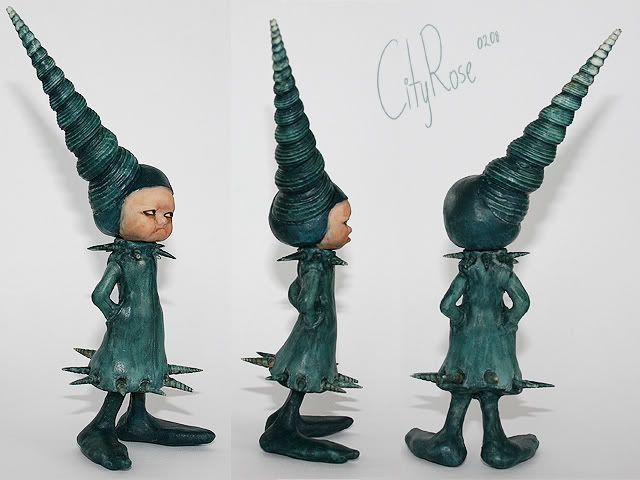
Debbie Crothers
Geraldton Australia
Geraldton Australia
I am a mum to 3 great kids. I also have a wonderful husband (15 years married) who is very supportive and encouraging. I live in Geraldton which is on the west coast of Australia right on the beach. It's a great place to live and raise children. I mainly work with clay but I do also teach beaded jewellery making at our local community art gallery. I've been working with clay on and off for a few years but more seriously in the last couple. I find it a fantastic medium to work with and am totally enjoying exploring the possibilities of clay.
Antiqued African Style Bangle Handmade from Polymer Clay
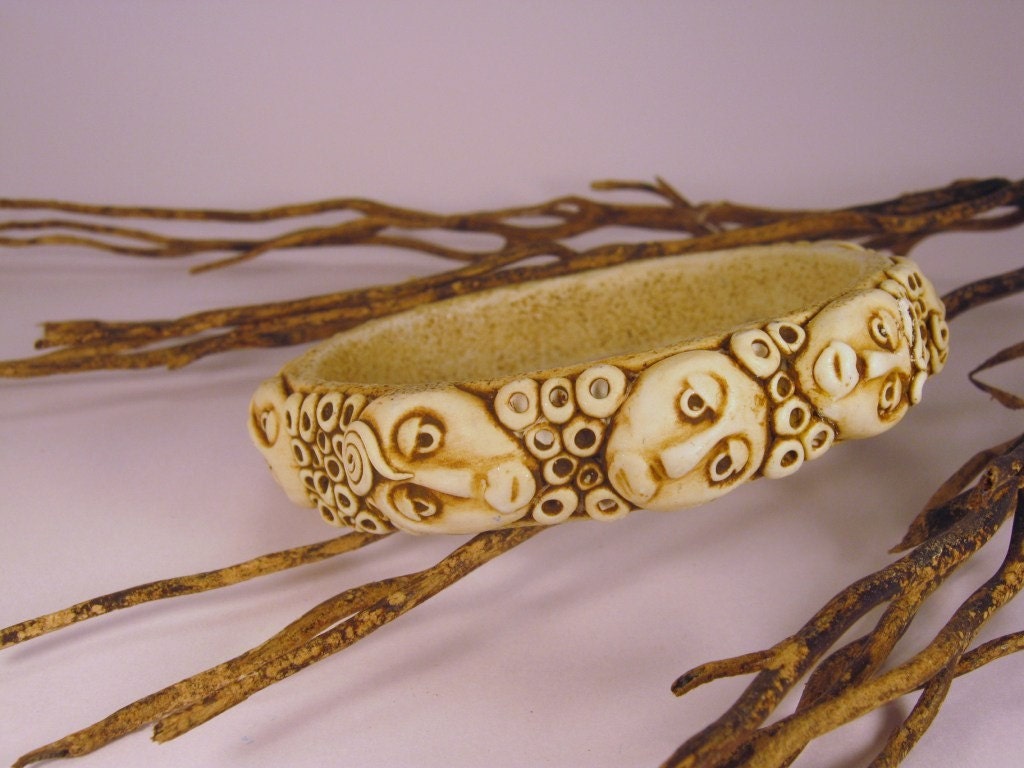

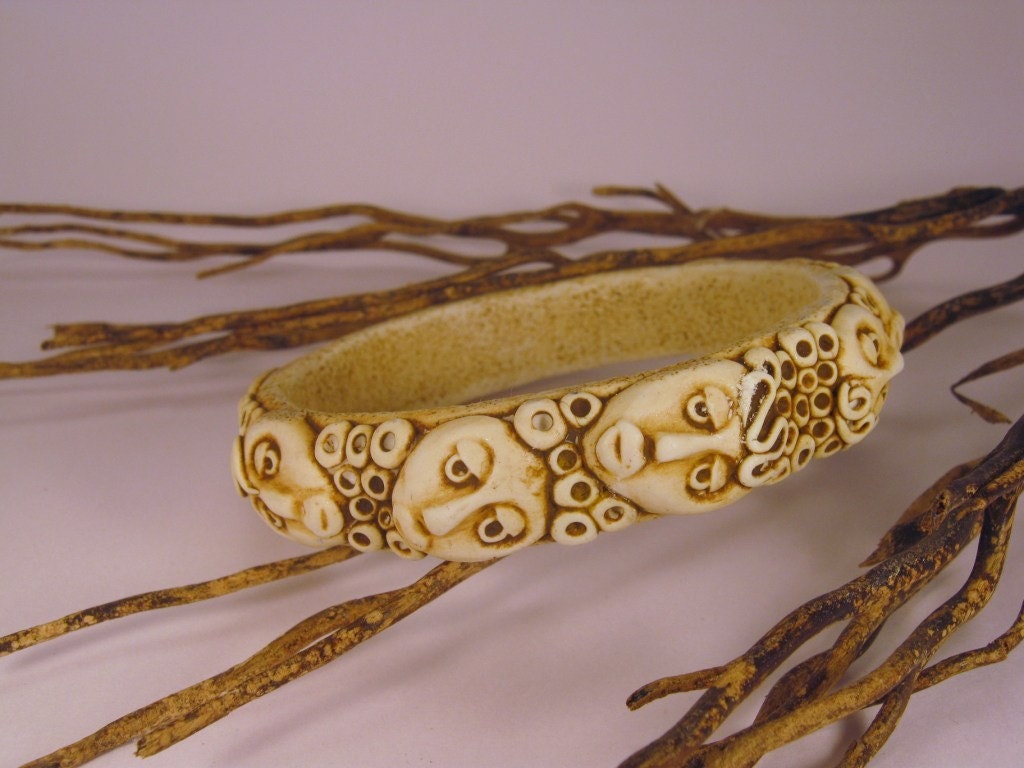
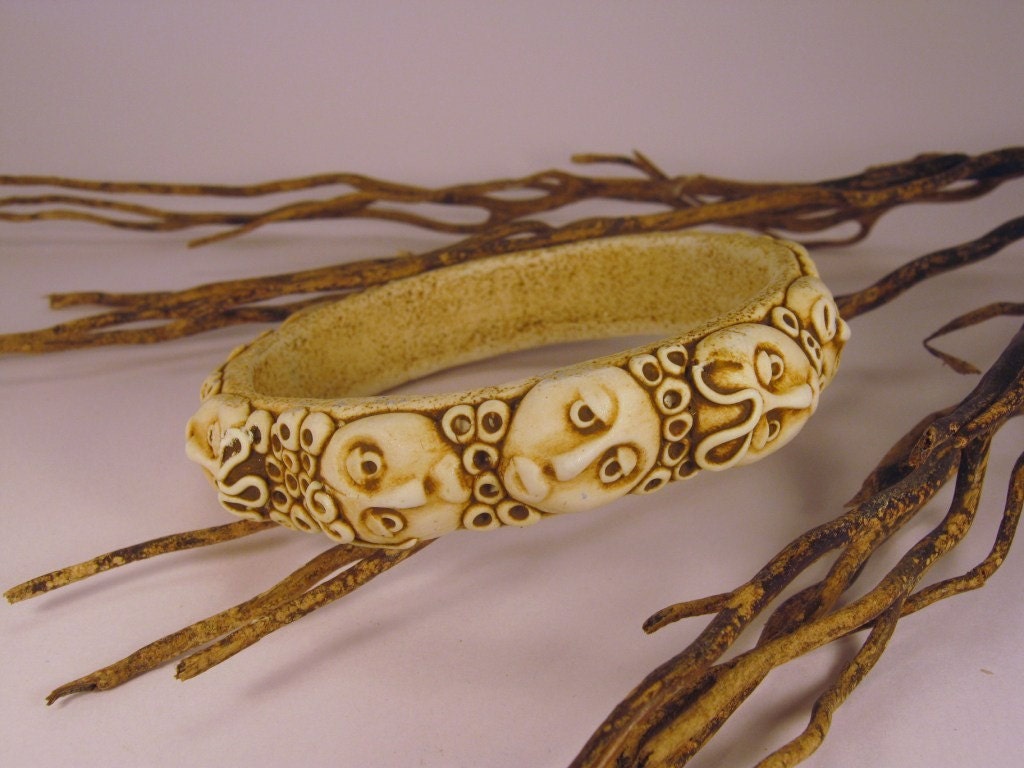


Quirky and unique is this gorgeous bangle. I've used an African face mold to create the pieces that make up the basis of this bangle and then surrounded them with textured pieces of polymer clay. The whole bangle has been brushed over with oil paint and then rubbed back to create a rustic, antique finish.
You can see more of Debbie's beautiful creations at:
~*~*~*~*~
Polymer Clay on Canvas
Create a miniature art canvas with polymer clay shapes and accents such as beads and buttons. Use cookie cutters to help you create shapes with the clay and household items such a comb to create texture. This project comes to us compliments of Heidi Borchers for Inspired at Home.

Materials:
- Polymer clay
- Canvas 4” x 4”
- Polymer clay
- Pasta machine (dedicated to clay use only) or a rolling pin on freezer paper
- Rubber stamps or texture sheets – assorted designs – or household utensils
- Baby powder (or cornstarch)
- Knife or clay type blade for cutting clay
- Cookie cutter for heart shape
- Non stick baking sheet (dedicated to clay use only)
- Acrylic paint - black
- Brush – ½” flat
- Rub ‘n Buff Metallic Paste - gold & silver
- Assorted beads, charms, and glass mirror pieces to embed into clay
- Aleene’s® Platinum Bond™ 7800 All-Purpose Adhesive
- Oven
Instructions:
- Soften (condition) clay by running through pasta machine several times (or roll out with rolling pin). For final thickness you will need about 1/8’ thick.
- Place onto freezer paper or a non stick baking sheet while creating design. Determine and cut size, shape and placement in order for clay piece to fit on canvas.
- Prepare rubber stamps by sprinkling with baby powder and shake off excess. Carefully push prepared rubber stamp into clay. For heart shape, use a cookie cutter and cut out clay. Overlap pieces and press beads and charms or mirrors into clay.
- Roll out several long snake type pieces and flatten out. Imprint with lines using knife. Press around stamped heart, beads, charms and mirror pieces.
- Place clay piece in oven and bake according to package directions.
- When clay piece is cool, glue onto canvas. Let glue dry.
- Paint entire canvas and baked clay piece with black acrylic paint. Let dry.
- Apply Rub n Buff according to package directions. Let dry.