It is my pleasure to introduce you to 'Polymer Clay for a Cause'.
About the Artist in her own wordsI started Polymer Clay for a Cause in honor of my daughter, Cortney.
Cortney had an incredibly artistic mind, but due to her Muscular Dystrophy we were not able to find a medium that she could do. So in turn during her years of living at Childrens Hospital she would tell me GREAT stories and I would try to bring them to life thru polymer clay. Clay became both of our worlds, just in different ways. Cortney left this world at the age of 14 to go dance for the first time, but I try to continue her spirit thru clay and charities (Cortney would grow her hair out, just to donate it to locks of love - which for a girl in a wheelchair is rough to do - that was the kind of soul she was). I will list photos of her in the store, if you wish to see her!
About the store.....
This is a non-profit shop that takes art work from any polymer clay artist that wishes to contribute. About every four months the PCAGOE (Polymer Clay Artist Guild on Etsy) will vote on a children's charity which ALL of the sales from this shop go to that orginization.
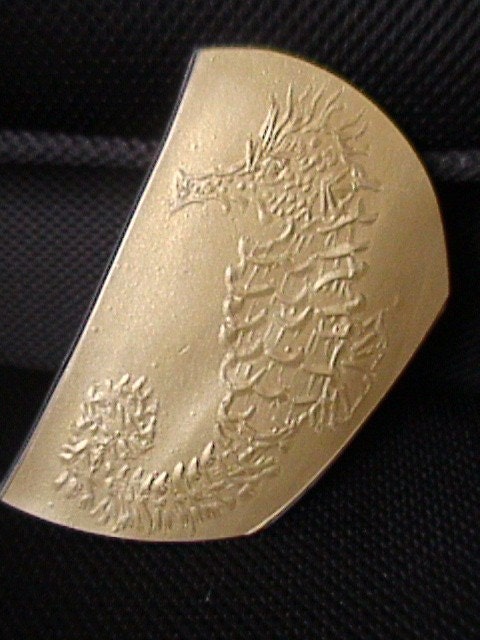
Seahorse Mica Shift
From PolymerClayforaCause
The artist describes this item and her technique:
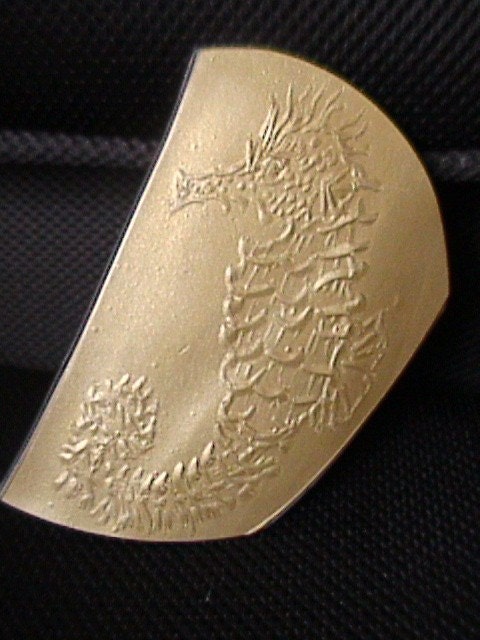
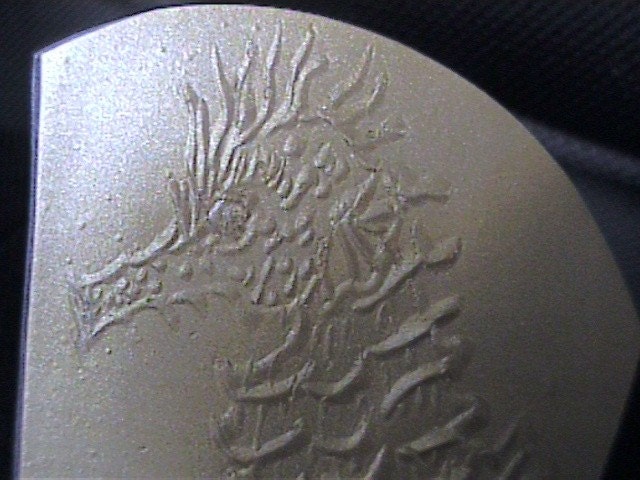
Beautiful mica-shift 'Seahorse' on gold Premo polymer clay! Hand-carved OOAK mica-shift technique. This piece is completely smooth with wonderful depth. Can be displayed on a very small easel or matted and framed. You could also use E6000 glue to place a hanger on the back to decorate a small area of wall :) Measures approx. 3" x 4" inches (1/16th inch thick) signed, titled and dated on the back.
The technique behind the art:
Mica-shift is accomplished by first conditioning the right kind of clay (I use Gold, Silver or Pearl Premo) and smoothing it out so all the 'mica crystals' are going in the same direction and then either stamping or hand-carving a design on the surface. These animal portraits are very difficult! You have to work very slowly and carefully with each movement of the tool. I use a small, wire triangular loop to remove thin strips and tiny sections of clay and then put the finished carving through the pasta machine a couple times, first one direction and then the opposite to stretch the design and smooth the surface. They are then baked, wet-sanded and waxed to a silky smoothness. I absolutely love the look of this style of clay work, the depth you can achieve and the various shadings are just so cool!
~*~*~*~*~*~
Sally
Frit Happens Forum
This beautiful bangle was created using mica shift technique by Sally from the Frit Happens forum. I think she did a beautiful job.Frit Happens Forum
Polymer clay Bangle
on: July 17, 2009, 01:47:50 PM »
|

The Artist in her own words
This is a bangle I made following a step-by-step in one of Donna Kato's books. It's a bangle made using the mica shift technique. This technique gives the look of a raised pattern without it actually being raised.
~*~*~*~*~*~*~
KRISTI FOSS CREATIONS
The Artist in her own words
 with the mica sift technique applied. Of course, once you have these lovely sheets, you need to do something with them...Then I found some little curved spacers at Beaded Impressions, and decided to see how they'd look as embellishments. Here's a couple of pendant/earring sets ~ I especially like the fact that the little discs move and twirl.
Just so you can see the discs and the mica pattern, here's a close up:

I also had to incorporate PMC in a piece with a little movement. I really like the ability to have the texture that is imbedded in the PMC echoed in the smooth
 mica shift of the polymer. What a great combination of media!
If you're not familiar with the mica shift technique, there is a great tutorial on Polymer Clay Central. The tutorial is done by Kellie Robinson, and is very clear with excellent photos.
Here's the URL:
http://www.polymerclaycentral.com/ms_texture.html
Give it a try! Bet you can't do just one!
You can see more of Kristie's work at: http://www.kristiefoss.blogspot.com/


3 comments:
Neat Mica Shift work!! Thanks for sharing it, makes me want to go play with my pearl clays, lol.
Thank you for sharing these artist's beautiful Mica Shift work and their stories.
Gorgeous stuff. Thanks! :D
Post a Comment