
I read about transferring images onto candles and thought I would try it out. I bought dollar store candles because I thought for sure I would make a mess out of them, but in actuality I am very pleased with the results.
Here is what you will need to create your own designs:
Rubber stamps
Ink pads
Wax paper
Tissue paper
Embellishments of your choice
Heat gun
Candle ( The candles I used are 3" tall x 2.5" wide)
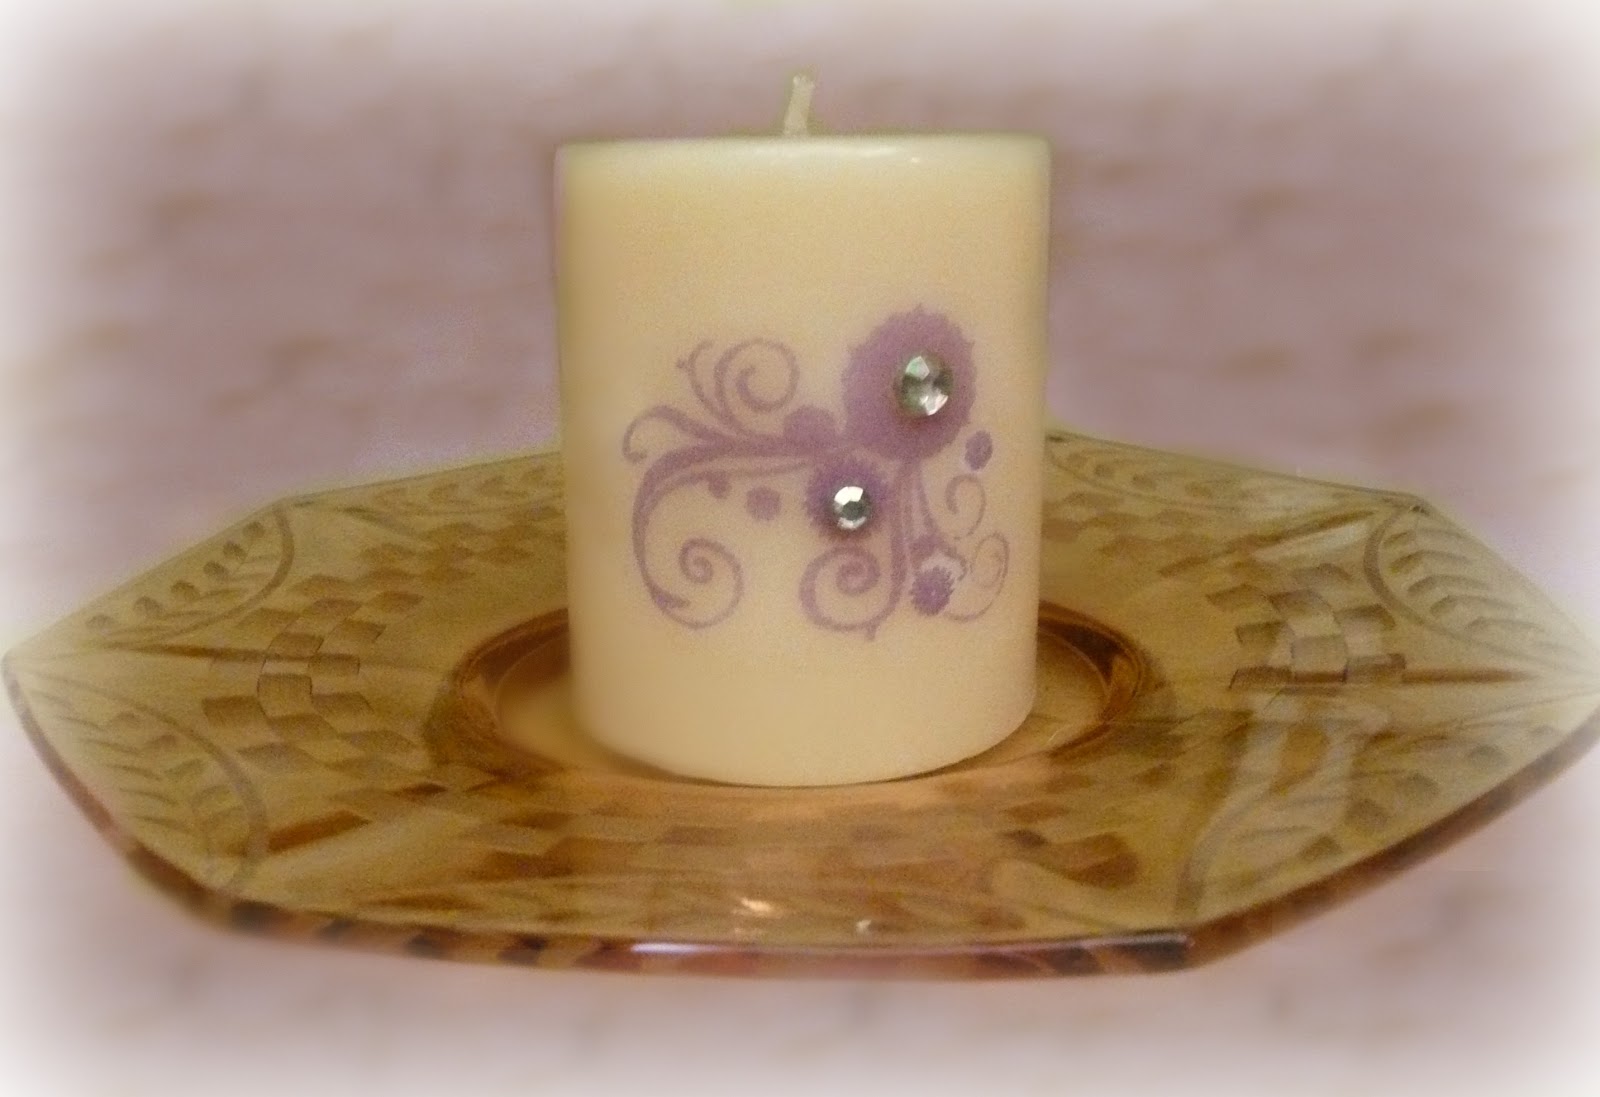

Stamp your design on the shiny side of the tissue paper. Cut the excess close to the design rounding out all the corners. Because the candles I bought were white and cream, I used white tissue paper.
Place the design on the candle with the tissue paper right side up. I used a dab of glue to position the paper so that it wouldn't slip.
Cut off a large piece of waxed paper so that you have plenty to hold onto in the back of the candle, you don't want to burn your hands. Make sure that you do not have any wrinkles on the tissue or the waxed paper.
Use your heat gun and go quickly over the design. You will see the tissue paper melt into the candle. You do not want to overheat your image.
Once the tissue paper has melted, you can remove the waxed paper and you will have a beautifully decorated candle.
You can then add ribbons and bling to embellish your candles.
2 comments:
This is so cool, just beautiful!!! I especially love the hummingbird. What fun, thanks for sharing the step-by-step.
Sandy, these are fantastic!!! Thanks for sharing this idea! xo
Post a Comment